Grow Your Own Gourmet Mushrooms: A Complete Review of White Oyster F1 Spawn
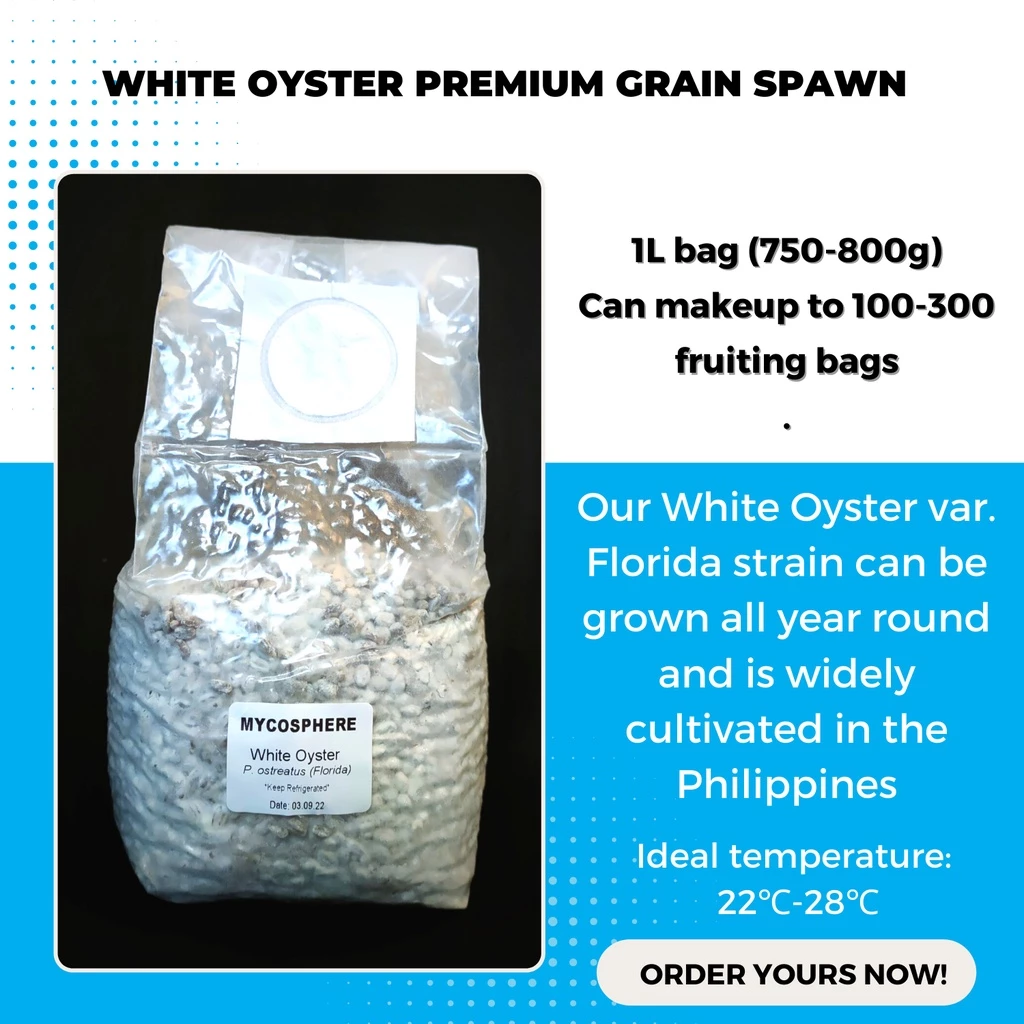
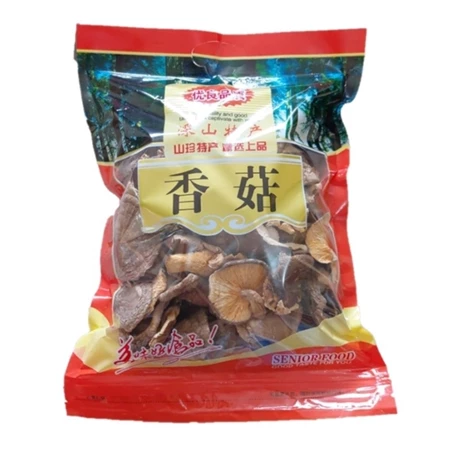
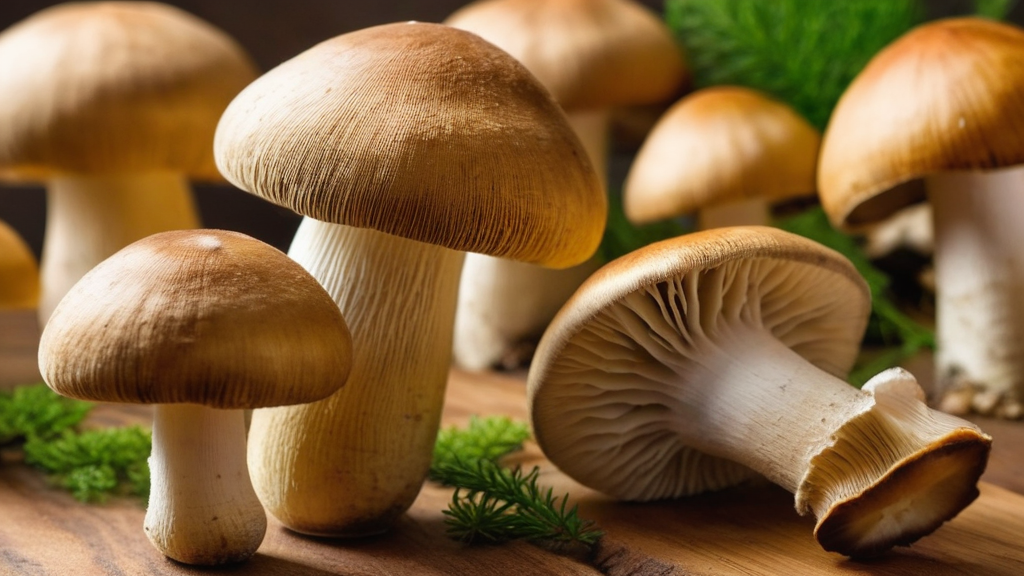
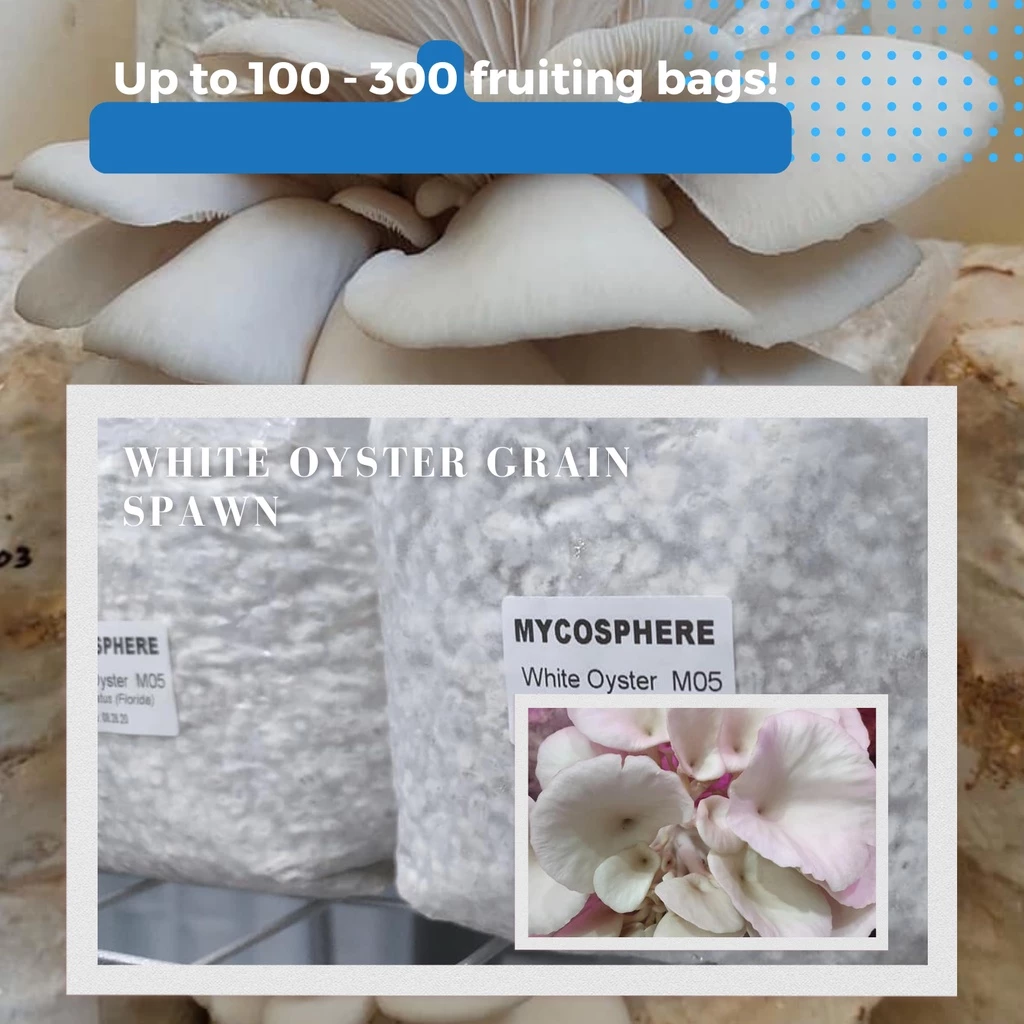
One of the world’s most widely grown edible fungi, white oyster mushrooms (Pleurotus ostreatus) are valued for their mild flavor, health advantages, and ease of cultivation. The basis for cultivating these mushrooms is provided by the product that is linked, Mushroom Spawn White Oyster Planting Spawn F1 Binhi ng Kabute (1Liter 800g) Mushroom Seeds. The features of white oyster mushrooms, the particulars of F1 spawn, and a thorough, step-by-step method for effectively growing them will all be covered in this extensive tutorial.

Understanding White Oyster Mushrooms
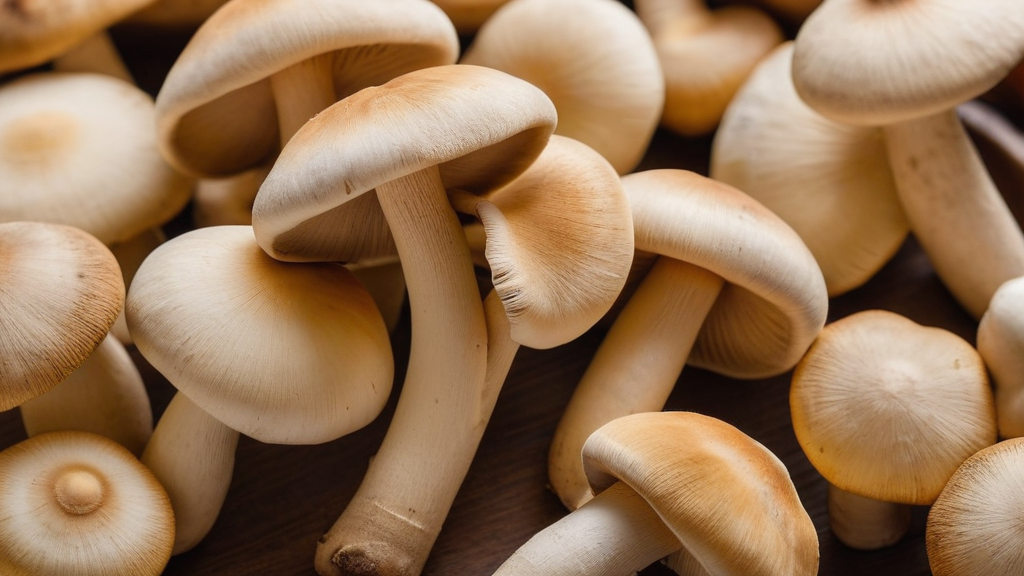
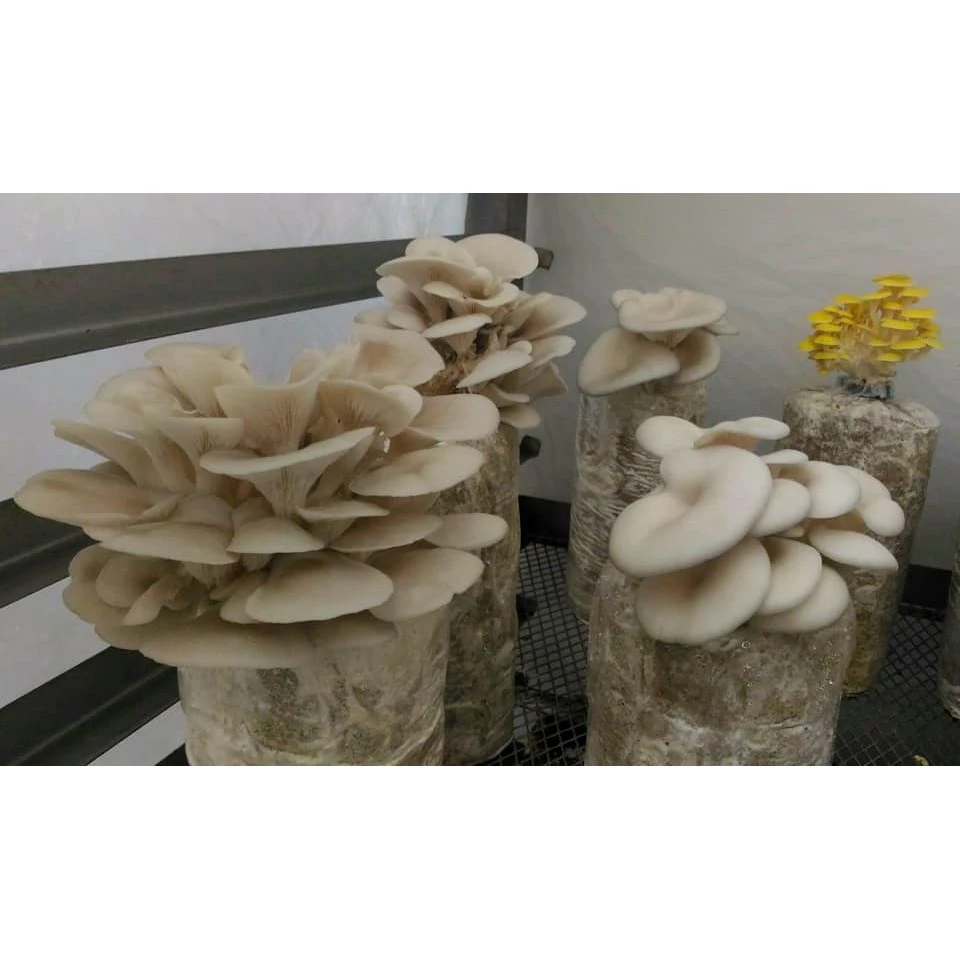
The broad, fan-shaped crowns of white or light gray oyster mushrooms are their defining feature. They are renowned for their quick growth and versatility across a range of surfaces, and they grow in clusters. These mushrooms are a great complement to a balanced diet since they provide health advantages, such as immune support and cholesterol regulation, in addition to their gourmet appeal.
The Significance of F1 Spawns
The term “spawn” in mushroom culture describes a carrier that has been injected with mycelium, the fungus’s vegetative portion, which starts to grow when placed on an appropriate substrate. The first filial generation, or “F1” for short, is a spawn that is directly from a pure culture, guaranteeing genetic vigor and consistency. For consistent yields and to preserve the desirable traits of the mushroom strain, F1 spawn must be used.
Step-by-Step Guide to Cultivating White Oyster Mushrooms
1. Preparing the Substrate
The substrate serves as the nutrient-rich base for mushroom growth. Common substrates for Oyster Mushrooms include:
- Straw: Widely used due to its availability and effectiveness.
- Sawdust: Particularly from hardwoods, providing a dense nutrient source.
- Coffee Grounds: An eco-friendly option that recycles waste.
Preparation Steps:
- Chopping: Cut straw into 1-3 inch pieces to increase surface area.
- Hydration: Soak the substrate in water for several hours to achieve optimal moisture content.
- Pasteurization: Heat the substrate to 160-170°F (71-77°C) for about an hour to eliminate unwanted microorganisms.
2. Inoculating the Substrate
Once the substrate has cooled to room temperature, it’s ready for inoculation with the F1 spawn.
Inoculation Process:
- Sanitation: Ensure all tools and surfaces are clean to prevent contamination.
- Mixing: Combine the spawn with the substrate thoroughly. A common ratio is 5-10% spawn to the total weight of the substrate.mushroology.com
- Bagging: Place the inoculated substrate into breathable plastic bags or containers, sealing them to maintain humidity.
3. Incubation
During this phase, the mycelium colonizes the substrate.
Conditions:
- Temperature: Maintain between 65-75°F (18-24°C).Morning Chores
- Humidity: Keep high humidity levels, around 85-95%.
- Darkness: Store in a dark environment to encourage mycelial growth.Fungi Ally
Incubation typically lasts 2-3 weeks, during which the substrate should become fully colonized, appearing white and cohesive.
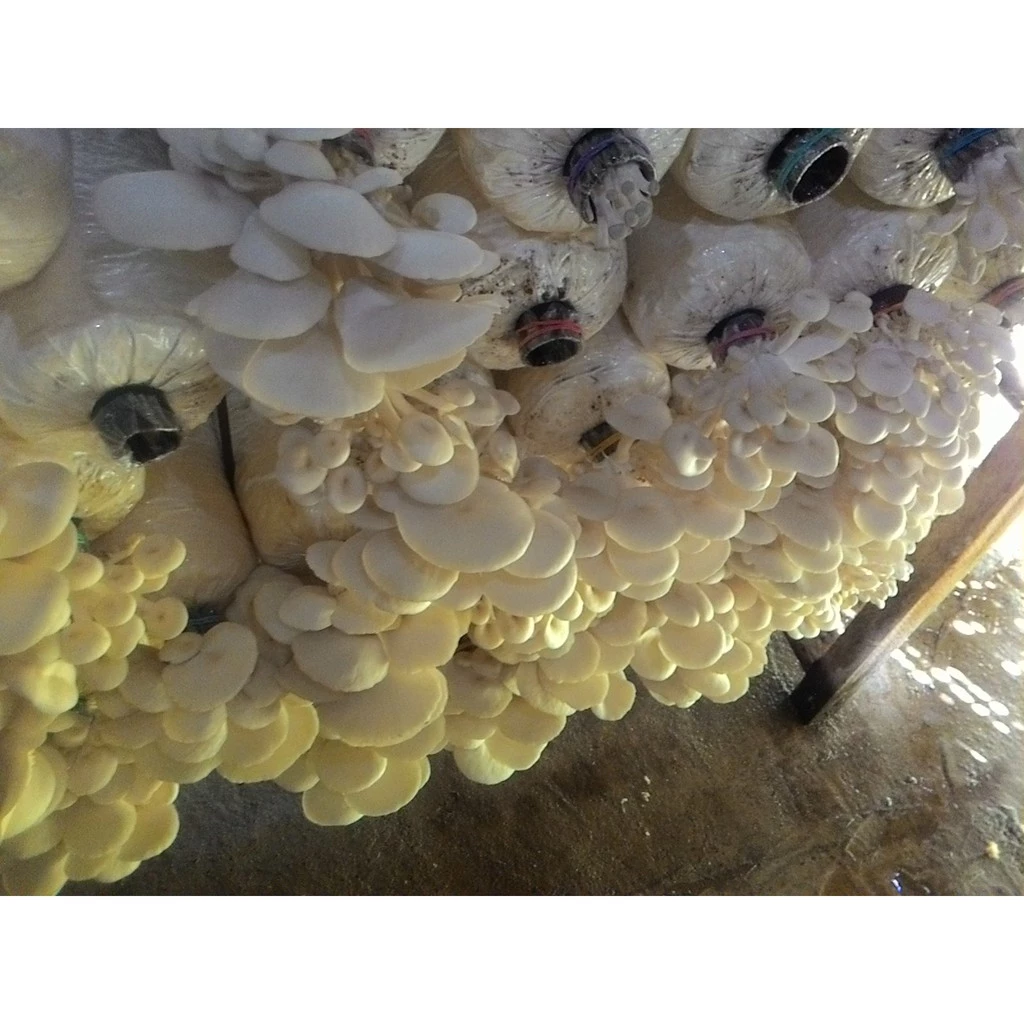
4. Fruiting
Once colonization is complete, initiate the fruiting stage to encourage mushroom development.
Fruiting Conditions:
- Temperature: For summer varieties, maintain between 60-86°F (16-30°C); for winter varieties, 55-70°F (13-20°C).
- Humidity: Above 85% relative humidity.
- Light: Provide indirect light or low-intensity artificial lighting.
- Airflow: Ensure adequate ventilation to prevent carbon dioxide buildup, which can hinder mushroom formation.mushroology.com
Process:
- Exposure: Move the colonized substrate to the fruiting area with the conditions mentioned above.
- Initiation: Cut small slits in the bags to allow mushrooms to emerge.
- Maintenance: Regularly mist the environment to maintain humidity and promote healthy growth.
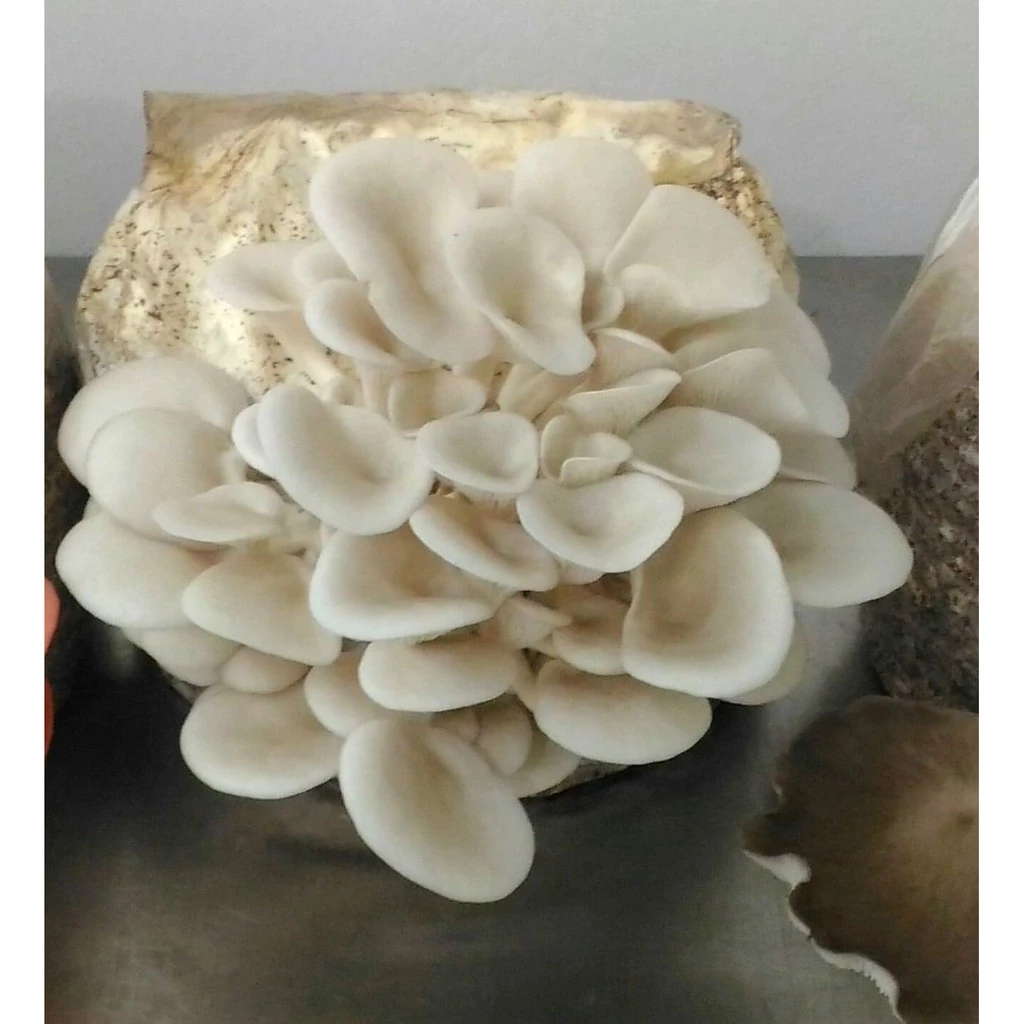
5. Harvesting
Mushrooms are typically ready for harvest within 5-7 days after the initiation of fruiting.
Indicators for Harvest:
- Cap Shape: Harvest when the caps are still slightly curled downward.
- Size: Optimal size varies, but generally, when caps reach 2-4 inches in diameter.
Harvesting Technique:
- Twisting: Gently twist the base of the mushroom to detach it from the substrate.
- Cutting: Alternatively, use a clean knife to cut at the base.
Multiple flushes (harvests) can be obtained from the same substrate, with intervals of 1-2 weeks between them.
Common Challenges and Solutions
- Contamination: Maintain strict hygiene during all stages to prevent mold and bacterial growth.
- Poor Fruiting: Ensure environmental conditions—temperature, humidity, light, and airflow—are within optimal ranges.
- Pest Infestation: Regularly inspect the growing area and employ natural deterrents if necessary.

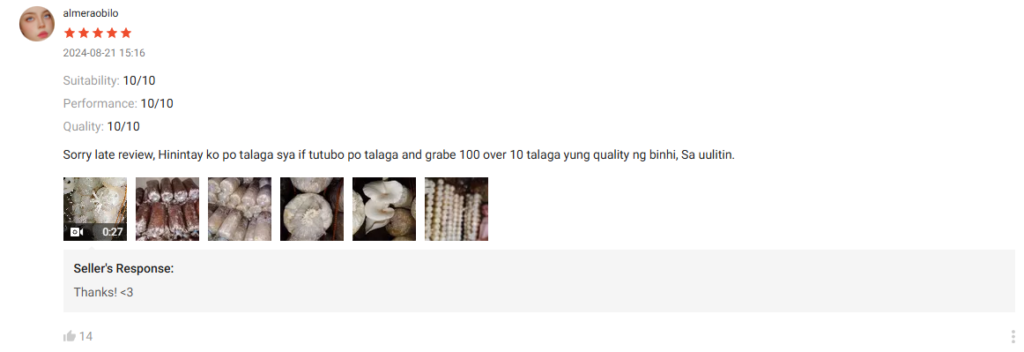
User Experience
💬 “Great quality spawn! Colonization was fast, and I got my first harvest in just three weeks!” – Verified Buyer
💬 “Worked well with my sawdust substrate. I had a few contamination issues, but that was my fault for not sterilizing properly. Will buy again!” – Experienced Grower
💬 “Perfect for beginners. Just follow the instructions, and you’ll get a good yield.” – First-Time User

Conclusion
Using F1 spawn to cultivate white oyster mushrooms is a fulfilling project that blends art and science. Growers can reap abundant harvests of this adaptable and nourishing fungus by carefully overseeing each stage of cultivation and comprehending the biology of the mushrooms. The process of cultivating white oyster mushrooms, whether for personal use or commercial objectives, provides fulfillment and a closer bond with nature.
Mushroom Products

Mega Prime Pieces and Stems Mushroom 198g Best Values
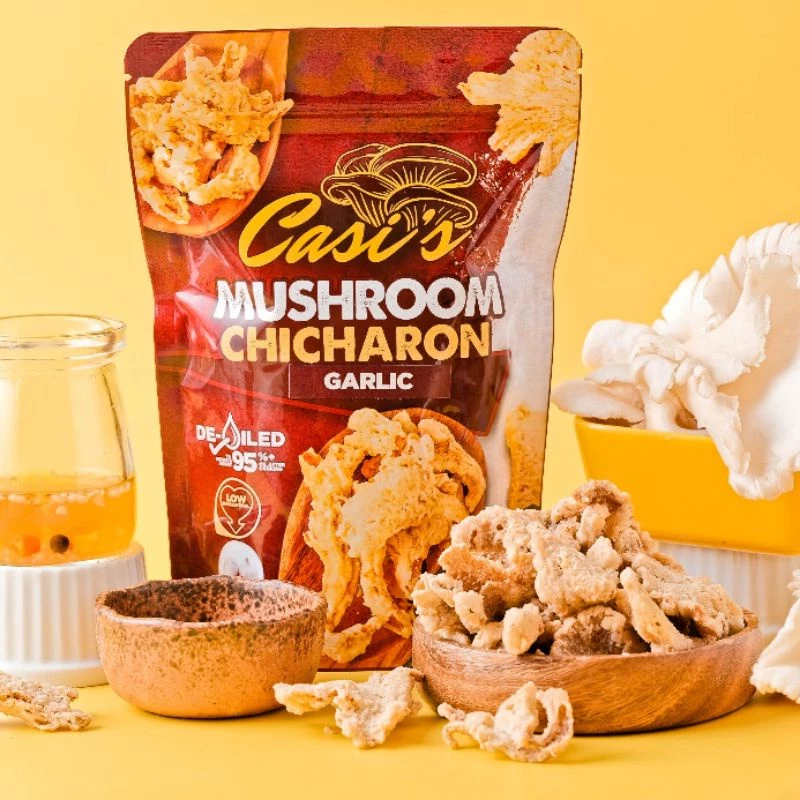
Casi’s Mushroom Chicharron Best Values