
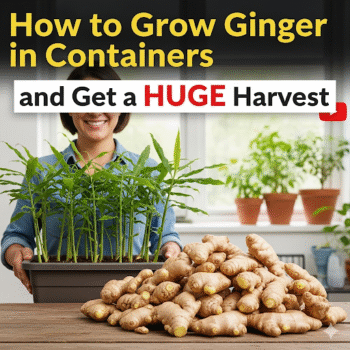
Imagine stepping into your garden, where one of the most versatile plants in both cooking and medicine is waiting to be discovered: ginger. It’s a plant I’ve grown to love not only for the spice it adds to the kitchen but also for the satisfaction of seeing it thrive in a pot.

I’m Cres Ian Lorenzo from Agri Advice, and my mission is always to help you grow a greener thumb. Today, I want to take you on a journey with me into the world of ginger, one of the oldest and most widely cultivated crops in history. In fact, ginger was among the very first exports from Asia, and its story continues to spice up kitchens around the globe.
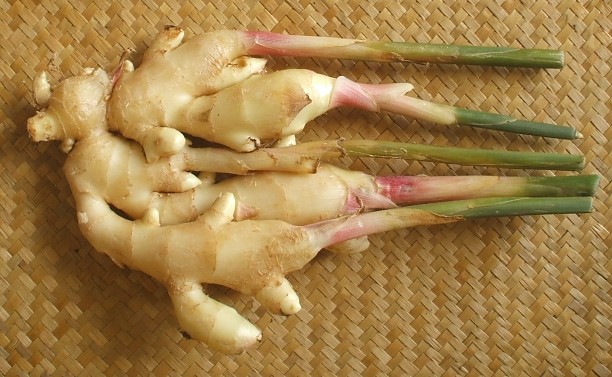
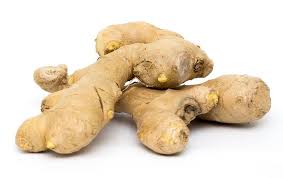
When most people hear “ginger root,” they picture the knobby piece from the market. But here’s the secret: what we’re really harvesting isn’t a root at all. It’s a rhizome, a modified underground stem that powers the plant’s growth. What we plant, what we nurture, and eventually what we harvest, is all this rhizome.
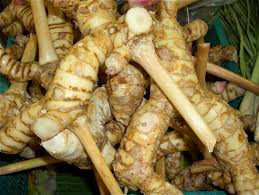
The variety I have in my hands right now isn’t the classic species; it’s Alpinia galanga, often called Thai ginger. But the beauty is that it grows in almost the same way. And trust me, there are countless things you can do with it: candy it, dry it, grind it into powder. In this little gardening adventure, I’ll show you how to grow ginger in a container, how to get epic harvests, and finally, as a bonus, how I turn my homegrown ginger into a fragrant ginger powder.
Choosing Your Ginger
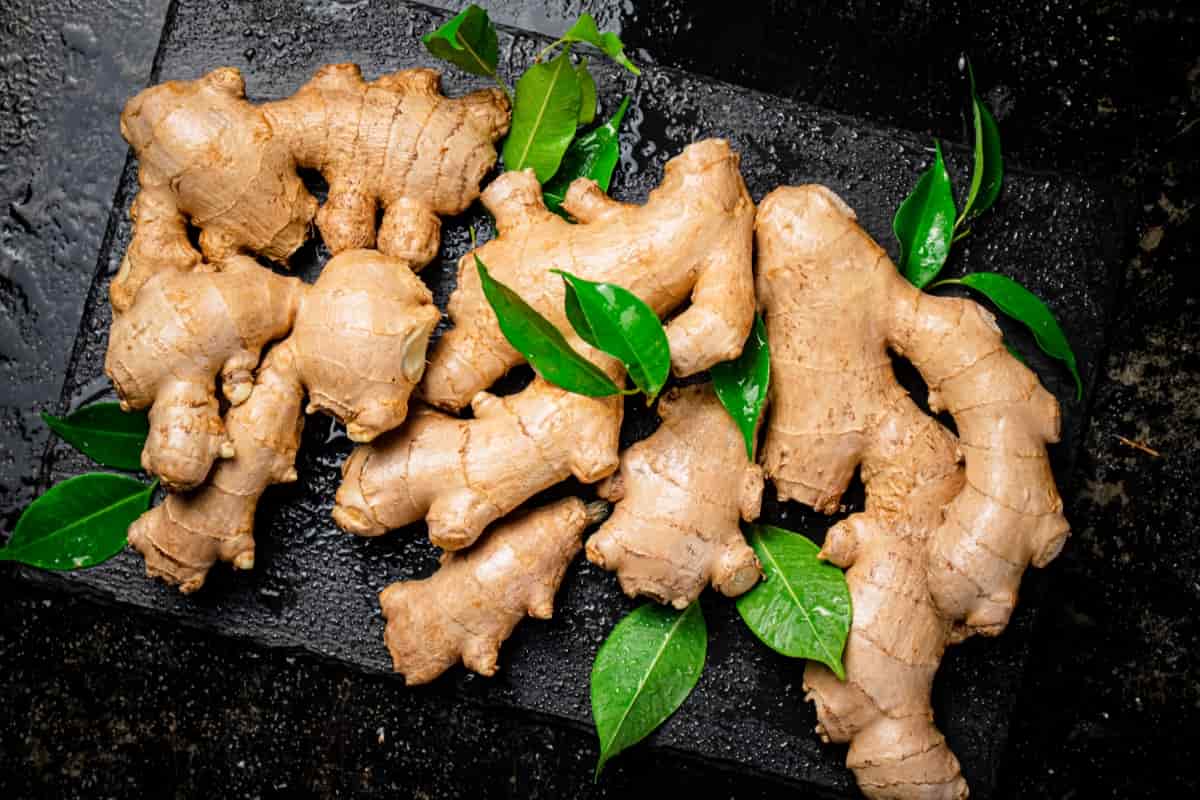
Picture yourself walking through the grocery store. You head to the produce section and pick up a few ginger pieces. What should you look for? The trick is to find those tiny buds on the skin that look like they’re just waiting to sprout. The bigger the piece of ginger you plant, the more sprouts it will produce. And more sprouts mean more shoots above the soil, more rhizome expansion below, and ultimately, faster and bigger harvests.
If you plant a small chunk, you may get just a couple of shoots. But plant a larger section with several eyes, and you’ll see multiple stalks shooting up in no time. That’s more energy for photosynthesis, more root growth, and a quicker path to a full container of ginger.
Picking the Right Container
Now that you’ve chosen your rhizome, it’s time to give it a home. Ginger grows horizontally. Its rhizomes creep sideways as they expand, which means a wide, shallow container works much better than a deep, narrow one. That’s why I prefer wide pots; they give ginger the space it needs to spread out.

1-20 Gallon Big Plant Flower Grow Bag
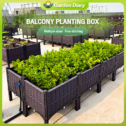
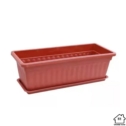
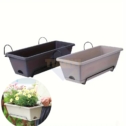
Balcony planting box
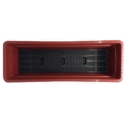
Plant Box Garden Pot Large High Quality 64x20x15cm
As for soil, think loose and rich. A high-quality potting mix full of organic matter is perfect. It needs to hold moisture but also allow the rhizomes to push through as they expand.
You can pre-sprout ginger in a bowl of water if you’d like. Watching the tiny roots and shoots emerge is exciting, but you don’t have to. If you tuck it straight into the soil, it will still sprout naturally. When planting, just press the rhizome gently into the soil and cover it lightly with half an inch to three-quarters of an inch of soil. Water it just enough to wake it up; no need to drench the pot.
Creating the Right Conditions
To understand how to grow ginger, remember where it comes from: Southeast Asia. It thrives in tropical conditions: warmth, humidity, and consistent moisture.
That means if you live in a cooler climate, start your ginger indoors in spring. Once the shoots appear and temperatures rise, you can move it outside. Think of it as recreating a mini tropical climate for your plant.
In commercial farms, ginger rhizomes are always planted right before the monsoon season, letting heavy rains and heat do the hard work. In containers, you’ll be the one maintaining that balance of water, warmth, and nutrients.
Common Problems and Fixes
Like any plant, ginger sends you signals when it’s unhappy:
- Brown tips: Your soil isn’t moist enough. A layer of mulch can help hold water in.
- Yellowing leaves: Ginger is a hungry plant. Feed it with organic granular or liquid fertilizer.
- Rotting rhizomes: Too much water, ease up on irrigation.
If it flowers, don’t worry. That’s just part of its natural cycle, and the flowers are edible too.
Watching It Grow
Fast-forward a couple of months. Imagine green stalks rising from the soil, about knee-high, and when you brush past them, you get a hint of ginger’s spicy fragrance. At this stage, mulching becomes even more helpful. It keeps the soil moist and protects the rhizomes below.
If you’re in a frost-free area, you can harvest ginger gradually by snapping off pieces of the rhizome while letting the rest of the plant keep growing. But in colder climates, you’ll want to harvest everything before the frost arrives. Typically, ginger is ready for its first harvest in four to five months.
After harvesting, you can replant some rhizomes for the next season or store them in a cool, dry place like a root cellar. That way, your ginger story never really ends; it just continues year after year.
From Garden to Kitchen: Making Ginger Powder
Now comes the fun part. Once you’ve harvested your ginger, you can transform it into a powerful kitchen ingredient: ginger powder.
First, wash and scrub the rhizomes thoroughly. Slice them thinly and evenly so they dry at the same rate. You can sun-dry them, but a dehydrator makes the process faster. I use a simple Nesco dehydrator, setting it at 115°F for about 3–4 hours until the slices are crisp and snap when bent.
Once dry, they shrink down significantly. From there, just grind them in a spice grinder until they become a fine powder. Suddenly, you have your own homemade ginger powder perfect for teas, baking, seasoning, and even natural remedies.
From picking a rhizome at the grocery store to nurturing it into a thriving plant, harvesting it, and finally turning it into powder, ginger offers one of the most rewarding gardening journeys. It’s easy, it’s fun, and it brings the garden straight into your kitchen.
So, if you haven’t yet, give ginger a try. Even if you don’t live in a tropical climate, grow it in a container. At the very least, you’ll have a beautiful ornamental plant, and at best, you’ll enjoy epic harvests of one of the world’s most beloved spices.
Until next time, good luck in the garden, and keep on growing.
Where to Buy?
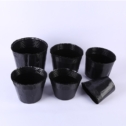
FAMILIFE 50pcs Black Nursery Pot
Rectangle Plastic Flower Planter (34cmx18cmx14cm)


It’s in point of fact a nice and useful piece of information. I am satisfied that you just shared this useful information with us. Please keep us up to date like this. Thank you for sharing.